
Custom closets are a great way to stay organized. Let's look at the steps involved in obtaining the top-quality custom closet you want and need for your home.
The Steps in the Custom Closet Process
Core Custom Closets
The Steps in the Custom Closet Process
Custom closets are a great way to stay organized, add value to your home, and improve your lifestyle. In fact, according to Onedesk, three out of 10 women have said that having an organized closet resulted in their mornings being overall less stressful. Designing and installing a custom closet involves several steps to ensure that the final results meet your specific needs and preferences. Let's look at the steps involved in obtaining the top-quality closet you want and need for your home.
Step 1: Hire a Professional
You'll need to work with a company specializing in custom closet solutions. They can provide expertise in maximizing space and functionality. Designers often have experience working with various materials, finishes, and accessories, allowing them to recommend the best options for your preferences and budget. Then, they can tailor your closet design to your specific storage needs, whether you have a large wardrobe, extensive shoe collection, or other unique storage requirements. Professional designers take the time to understand your lifestyle, habits, and preferences. This allows them to create a custom closet that aligns with your daily routines.
Step 2: Get a Needs Assessment
The next step on the journey to having custom closets installed is to assess your needs and how the space can accommodate those needs. Identify the items you need to store in the closet, including clothing, accessories, shoes, and any other personal items. Your closet designer will interview you and ask questions about your vision for the closet. They will also ask about your lifestyle and your goals for space. This is an essential step in the custom closet design process. Collaboration is key to ensuring that you get a closet that fits your lifestyle and your vision.
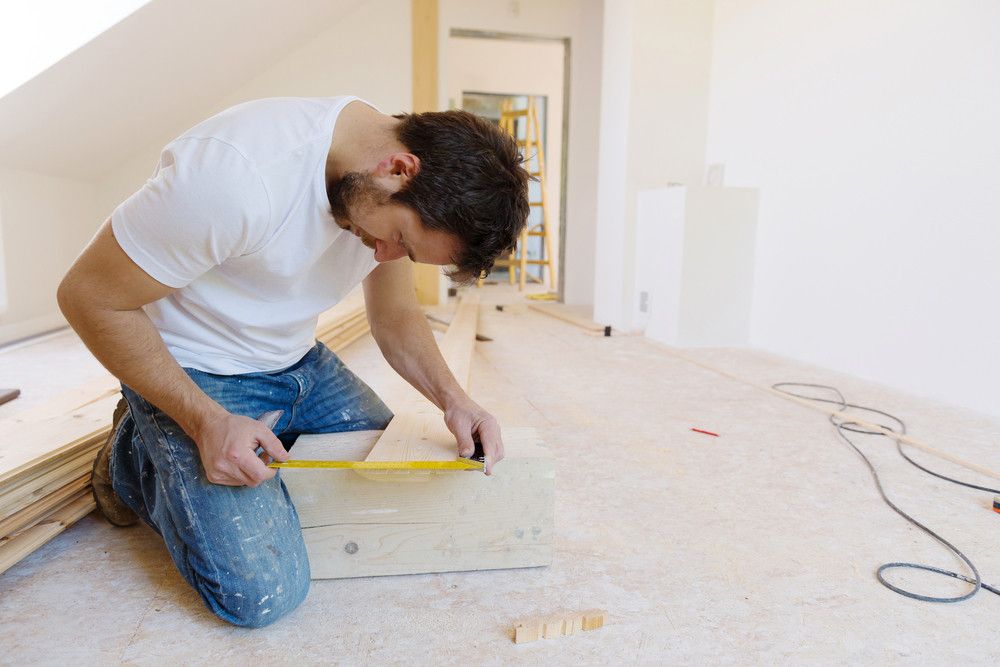
Step 3: Tear Down the Existing Closet
Everything that is currently in your closet will need to be removed, including rods and shelving. This is a good time to patch any holes left behind from hardware. It is also a good time to de-clutter. Your closet designer will double-check the measurements at this point before they officially begin the installation process.
Step 4: Inspect Your New Closet
Before your closet designer leaves, you will be invited to inspect the results of their work. If you have any questions or concerns, now is the time to address them. A quality custom closet installation typically does not raise any problems, so you can expect to be satisfied as long as you choose the right team for the job.
Custom closets are a great investment. With this upgrade, you'll spend less time searching for things and more time enjoying life. If you're ready to take your closet to the next level, contact Core Custom Closets & Cabinets today!
Posted 12/15/23